Some time ago, I began to imagine creating a stereo image that consists one image hidden inside the other. I had imagined hiding a face inside a cloud where the face wasn’t very noticeable until you looked at it in 3D, then the face would pop out. Initially, I’d imagined hiding a posterized face inside a cloud. I didn’t quite manage that outcome, but today’s post is about some stereo fooling around and the image I did create. The project started when I bought a focusing rail to use for macro photography. Then I realized I could use it for stereo photography, too
Focusing Rail
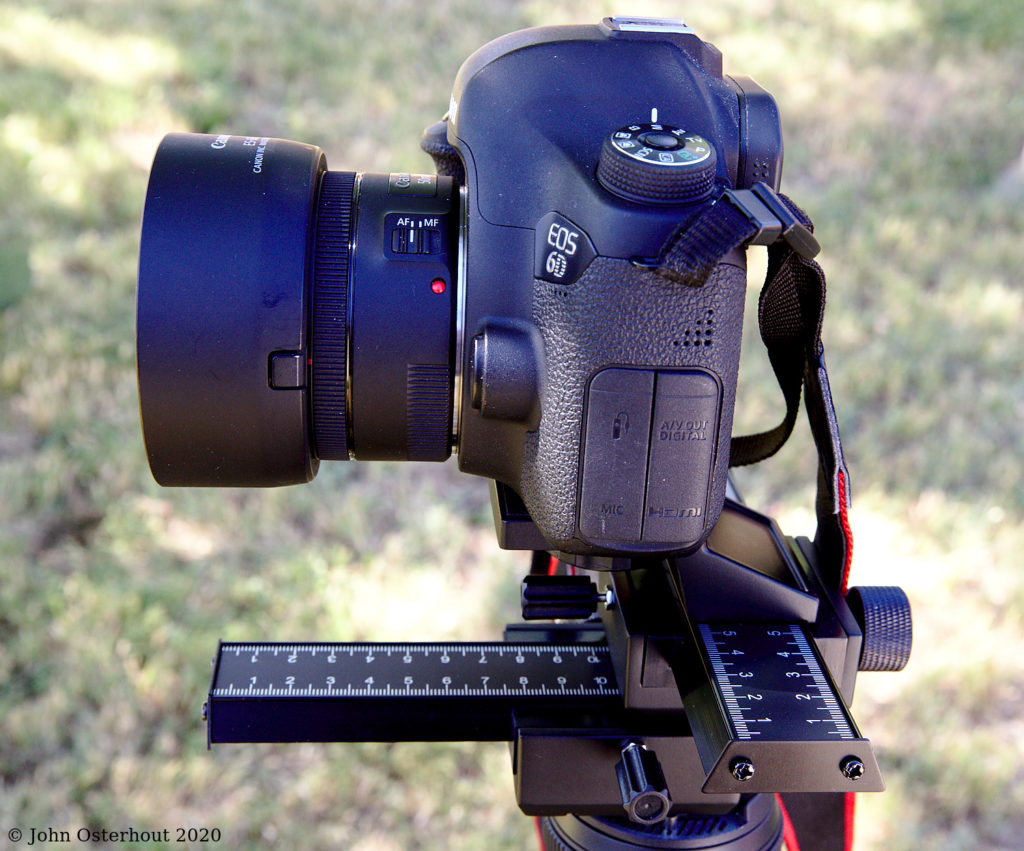
Here is a shot my Canon 6D atop the spanking new focusing rail I got for macro photography. As you can see, it has two rails, one to move the camera fore and aft for delicate focusing and one to move the camera side to side for composition. It occurred to me that the side-to-side rail could be used for stereo photography.
Stereo images
To produce a stereo image, you must take two photographs with the camera lens separated by about the same distance as human eyes, namely 5cm or 50mm. If you then mount these photos side by side, you can either cross or relax your eyes and trick your brain into see the image in stereo. I”m going to show you how it’s done with a cactuscape. (You can have landscapes and seascapes, so why not cactuscapes?)
Cactuscape

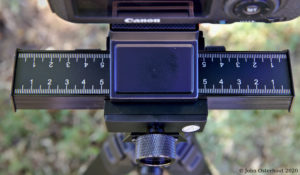
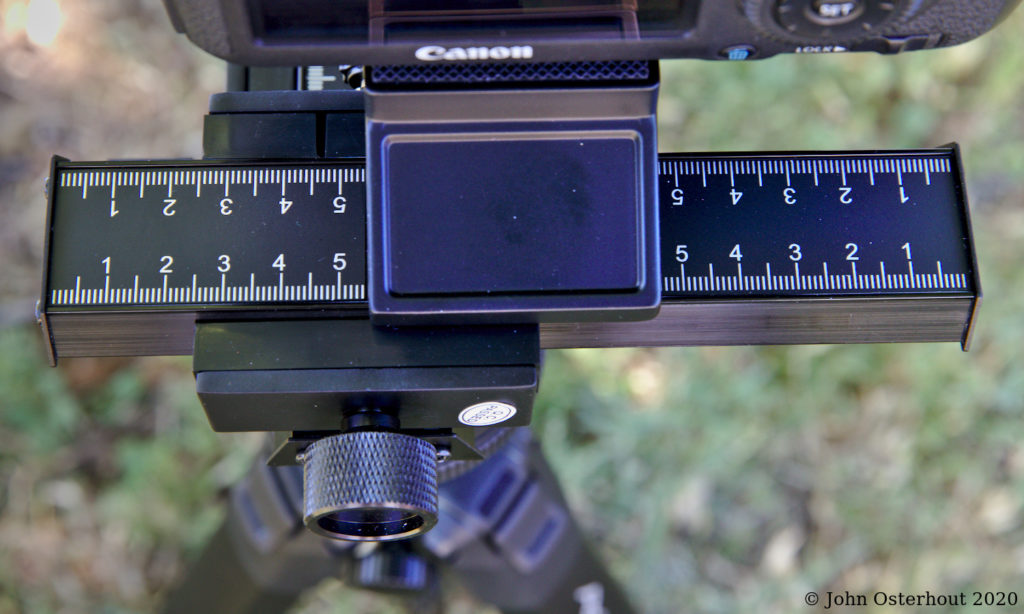
Above, is the monographic image of the cactuscape. It was taken with the focusing rail set to middle position (photo at right). In order to make the stereo image, I had to take two more pictures, one with the camera cranked 2.5 cm or 25mm over to the left (the left-eye view) and one with the camera cranked the same distance to the right (the right-eye view).

Wall-Eyed and Cross-Eyed Viewing
In wall-eyed (also called divergent-eyed or relaxed-eye) viewing, you relax your eyes as if you were looking at something on the horizon. Your left eye sees the left-eye image and your right eye sees the right-eye image. When they come together in your brain, you see stereo! Most stereo viewers use wall-eyed viewing. They use lenses to help you focus on the pictures. Relaxed-eye viewing is also used in hidden image pictures. Without a special viewer, most people find relaxed-eye viewing more difficult than cross-eyed viewing.
In cross-eyed stereo, the left-eye image is on the right and the right-eye image is on the left. When you cross your eyes, each eye sees the correct image and the stereo effect results. I’m going to show both cross-eyed and relaxed-eye images. The only difference is that the left-and right-eye views have swapped sides.
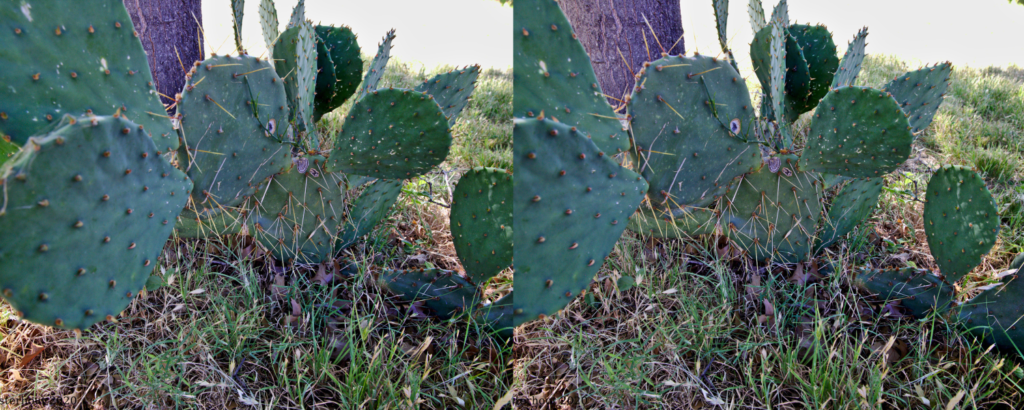
Cactuscape, Cross-Eyed Stereo
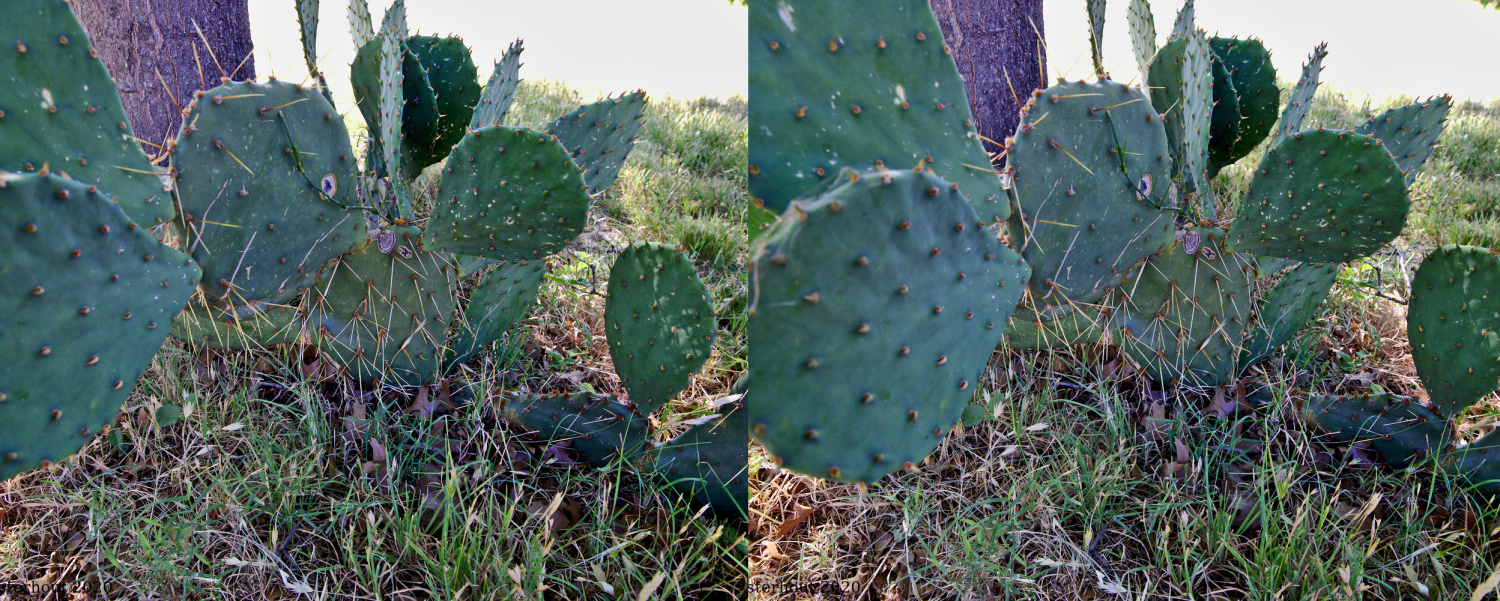
To view the image, cross your eyes until you see three images. The center one will be in stereo. Sometimes it helps to rock your head back and forth a little. When you get it, the view will seem to pop. For a larger version which might be easier to see, view this image from the gallery below.
Cactuscape, Relaxed-Eye Stereo
Lurking Foo Dog
I wanted a stereo image in which the head of a Foo Dog was lurking in the middle distance among some branches. First, the Foo Dog.
Here is the head of one of the Foo Dogs that adorn our mantle. I took two full body shots (left and right) from a distance of about twenty feet across my living room, decapitated the poor fellow digitally, and whited out the background. I wound up with left and right views of his leering face.
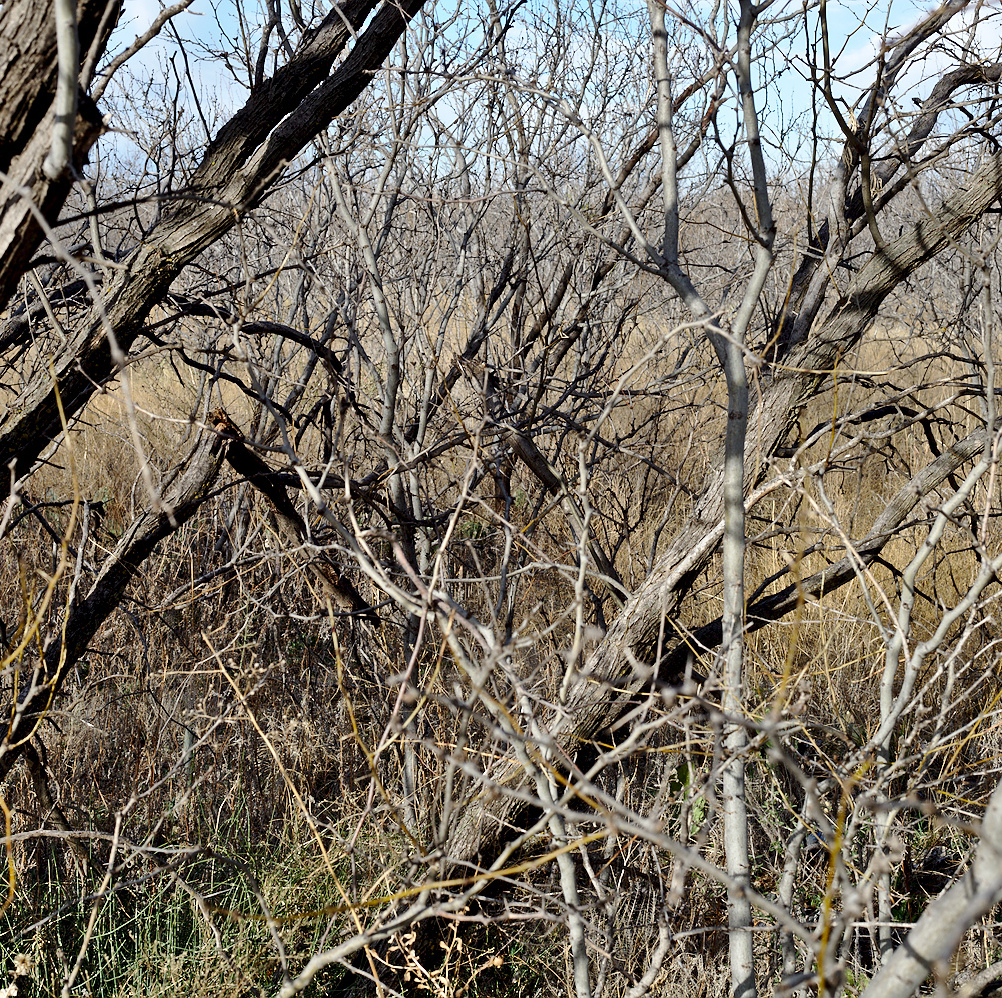
Next, I shot the branches. Again, I took left- and right-eyed views. There are lots of branches here from the foreground fading into the distance. My goal was to have the Foo Dog face look as if it were lurking in the bushes…
Lurking Foo Dog – Cross-Eyed Stereo
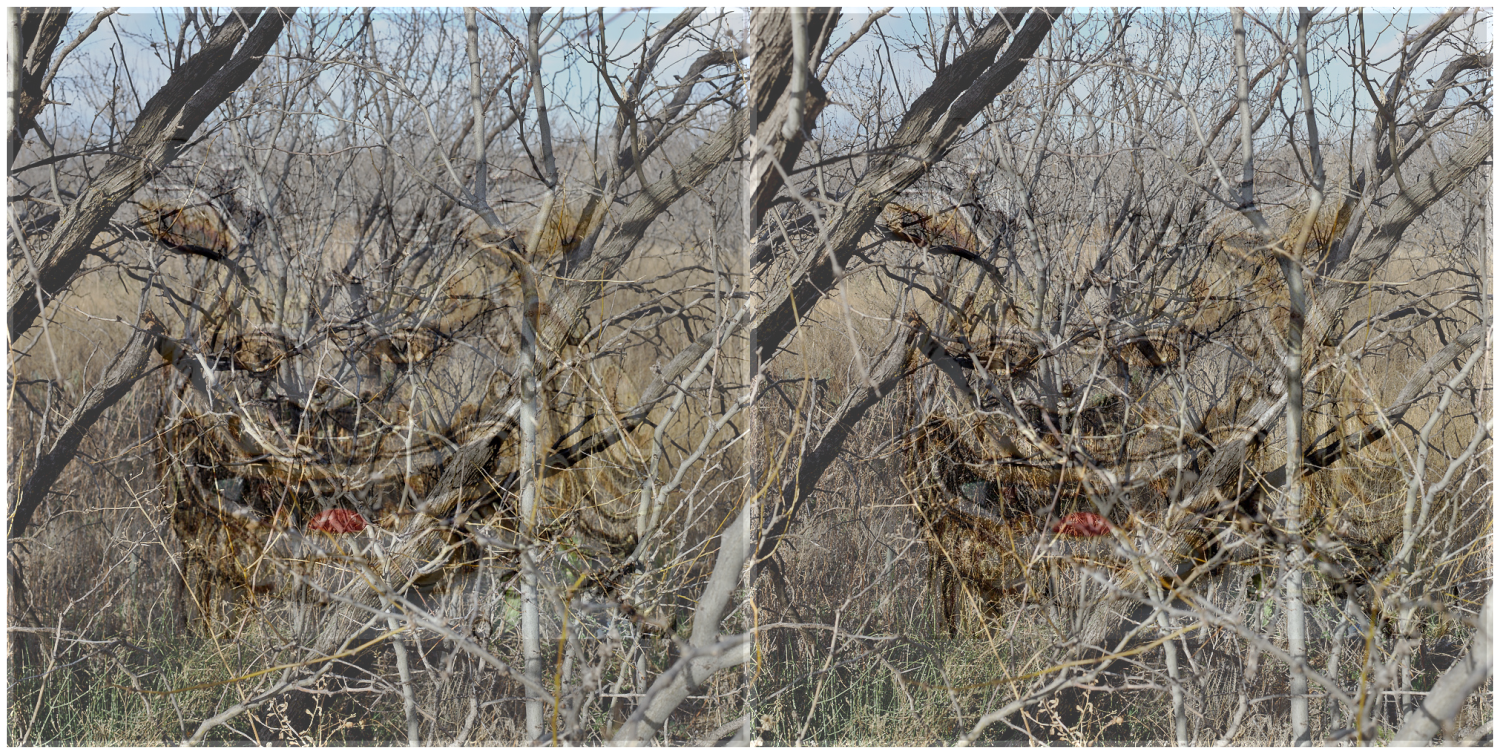
If the view is a little small on your screen, try it in the gallery below. This is a three-layer image sandwich. The bottom layer is solid 50% gray. This makes the transition from the Foo Dog face to the background less noticeable. The next layer is the two Foo Dog faces. Finally the top layer is the stereo shots of the branches. In order to see the Foo Dog faces, the top layers have to be translucent. I liked the look when the layers were 65% opaque.
Because of the stereo effect the Foo Dog looks as if he is lurking a few feet behind the branches in the foreground. Cool, eh? But if you look closely, some of the branches that should be behind the Foo Dog actually cross his face. This is a consequence of the Foo Dog faces being behind the branches in the image stack. Still, your brain is fooled into seeing the Foo Dog in the middle distance.
Lurking Foo Dog – Relaxed Eye Stereo
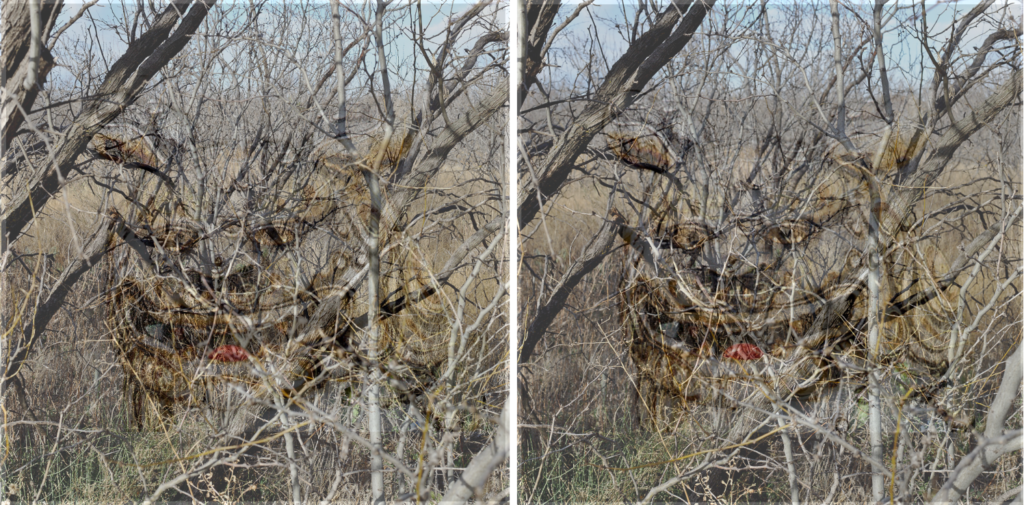
I had fun making Stereo Lurking Foo Dog. I’m not sure, though, that I’ll make a habit of it!
Gallery


These images were taken with a Canon 6DII wearing a 50mm f1.8, a 24-70 mm f2.8 or the 100-400mm f4-5.6 depending upon what I was doing. The images were all processed from RAW files with Darktable, which is free darkroom software available for Windoze, Mac, and Linux. I used the GIMP (Gnu Image Manipulation Program), a free Photoshop substitute, and Inkscape, a free Illustrator substitute, to make the stereo images.